Once you have completed writing and compiling your app, you can import the assembly into the System Platform (ArchestrA) IDE. If your assembly has dependencies, or consists of multiple DLLs, move all the DLL files into a single folder. Dependent files can be moved into subfolders for organizational purposes, but this is not a requirement for AVEVA OMI. When importing an app, AVEVA OMI takes the files in the parent folder and any subfolders.
Once you have imported your app, you can incorporate minor changes that do not change the shape of the app (add/delete controls or properties) by simply copying over the dll file, instead of re-importing it. This can help to speed up the development and troubleshooting processes. If you need to re-import your app, delete the old version in the IDE before importing the app again.
To Import an App
- Assemble the App, together with all required dependencies and related files, into a folder.
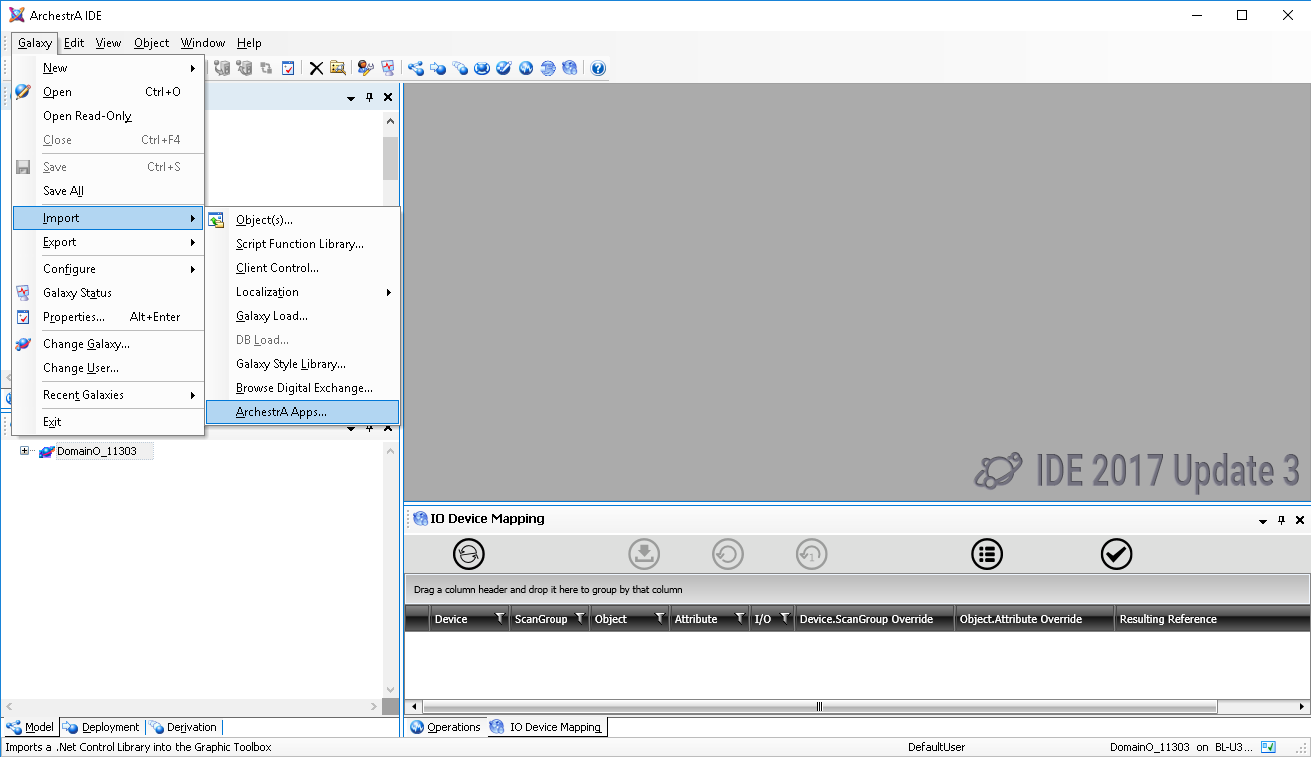
- Select Import from the Galaxy menu.
- Select ArchestrA App.
- Select the folder that contains the App to be imported. The contained App, along with all dependent files, including dependent files contained in subfolders, are imported when you select OK.
- The app appears as a new object in the GraphicToolbox when the import successfully completes, and is automatically given the name "DisplayModule_00n," where n is 1 or the next available integer. Rename the app as needed.
The new app object can be moved to another folder in the Graphic Toolbox, deleted, or exported as an .aaPKG file for use in another Galaxy.